| Print | Back | August 24, 2012 |
 |
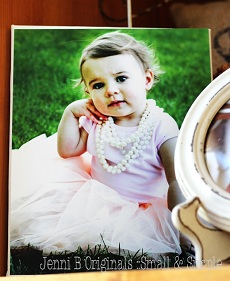
Small and Simple Photo Canvasby Jenni Bowman |
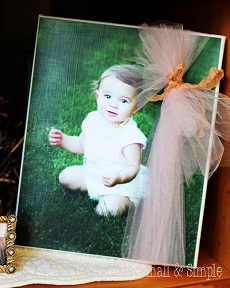
Do you ever see those cool photos that are printed onto canvas and wrapped around a frame? They are so pleasing to the eye, but maybe not as pleasing to the wallet. I made my own photo canvases (in 8”x10” sizes) for only $5 apiece!
And you won’t believe how incredibly easy these are to make!
Here’s what you’ll need:
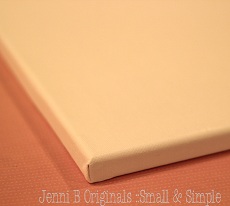
8x10 photo canvas (can be purchased at Michael’s)
8x10 photo
Scissors or paper trimmer
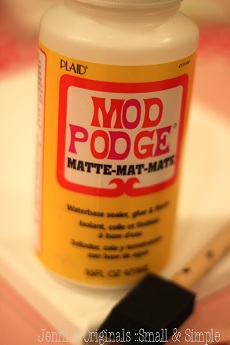
Matte finish Modge Podge
Sponge brush
1. Take the canvas out of the package. Then take out your photo and lay it on top. When I made mine, I noticed the photo was about 1/8” bigger than the canvas. Just trim it up so the edges aren’t hanging over the canvas. A paper trimmer is good for this project so you can get straight lines. But take care as to not mark up the photo when you are trimming it. I had to lay my photos right side down on the trimmer so they wouldn’t get scratched.
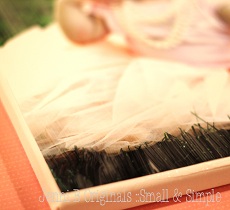
2. Next you’ll paint a generous amount of the matte Modge Podge onto the canvas. Go all the way to the edges.
3. Lay the photo on top and make sure it’s straight. Seal around the edges with the Modge Podge and then paint on top of the photo with the Modge Podge. Ensure you paint all one direction and try to make the lines as straight as possible. It looks a little scary because it makes your picture all white, but don’t worry – it will dry clear. Let dry completely.
4. Take the photo and paint it with Modge Podge again, this time going in the opposite direction you did before. When the photo is dry, you’ll have that “textured canvas” look. To get more defined lines on the canvas you can use a bristle brush. Let dry completely once again and the canvas is ready to hang!
| Copyright © 2025 by Jenni Bowman | Printed from NauvooTimes.com |