| Print | Back | August 10, 2012 |
 |
Small and Simple Circle Garlandby Jenni Bowman |
Remember how my daughter was having her first birthday in the last article? We hosted her birthday party, so naturally I made a bunch of decorations. The next few articles are going to be some of the projects I did in conjunction with the birthday party. Parties are the best!
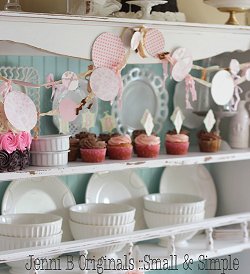
The little circle garland is what we'll be talking about today. It turned out adorable but was so, so simple to put together.
Here's what you'll need for a similar project:
6 12"x12" coordinating scrapbook paper sheets, preferably cardstock
Scissors
Circle templates
Ribbon and/or lace, 4-5 varieties
Glue gun with glue
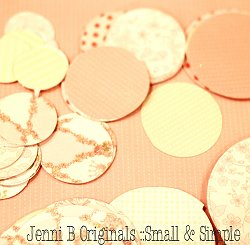
1. You'll start by cutting out a variety of sizes of circles. I happened to have to use of a Cricut machine that did the cutting for me. If you don't have one of those, just print out different sizes of circles using your word processor and those can be your templates. I made circles in 1.5", 2", 3", and 4". It's also nice to be sure you have a pair of each size in each color of paper.
2. Once you have all of your circles cut out, measure out the ribbon you're going to attach the circles to. You can make it any length, but I made about four 1-yard garlands, so I cut out four 36" pieces.
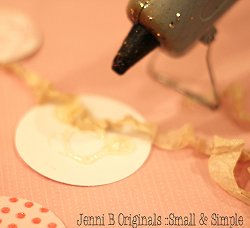
3. Next, you'll be gluing your circles to the ribbon. Before I started, I just looped and tied the top of each ribbon so it could hang more easily.
Take one circle and put it right side facing down on the table. Lay the ribbon down on top of the circle and then put on some hot glue. You don't need a ton of glue, just a couple of squeezes. Don't put glue too close to the edges of the circle or it will ooze out and may burn your fingers.
Once the glue is on, take the match to that circle (in size and color) and put it down with the right side facing up. You're making a sort of "ribbon sandwich" with the ribbon being the "meat" and the circles being the "bread". Repeat this with the other circles, leaving about 3"-4" of ribbon between each circle.
4. After you have glued on all the circles it's time to embellish the ribbons. I just took one kind of coordinating ribbon and tied it right above a circle. After you use one kind of ribbon, move on to the next, tying ribbon or lace onto the garland ribbon. There really is no right or wrong way to do this. You can use up a lot or a little ribbon in coordinating colors. Just make it to your liking.
5. Hang your garlands and enjoy!

| Copyright © 2024 by Jenni Bowman | Printed from NauvooTimes.com |