| Print | Back | July 27, 2012 |
 |
Small and Simple Play Cupboard Makeoverby Jenni Bowman |
Do you ever see something at thrift store or even by the side of the road and think to yourself, “Gee, that could be really neat with a fresh coat of paint”? For some reason, that happens to me all the time. I have one too many unfinished projects in my garage at the moment!
Coming right up is my daughter’s first birthday. A few months ago I found a sad little play cupboard sitting outside of an antique shop. It was just as weather-worn and dirty as could be — but only $14! So I slicked on some paint and added some accents and it made a total 360! My little girl is going to love it!
Here’s what you’ll need for a similar project:
Acrylic paint, in color of choice
Paintbrush
Coordinating fabric (about 1 yard total)
Decoupage
Glue gun with glue
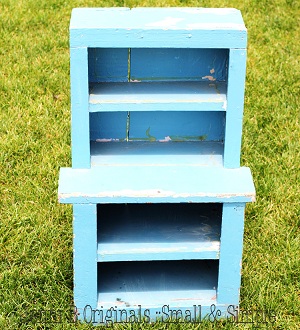
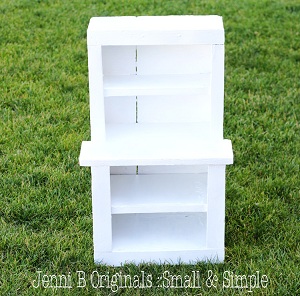
1. Since the cupboard was so dirty, I just started out by wiping it down and cleaning it up. There were quite a few coats of paint on it already, but sometimes you just don’t have the time or energy to scrape it all off. Know what I mean? I just chipped off what was loose and started painting away. The original color was a medium blue (see photo), but I had to do about four coats of paint to cover it completely.
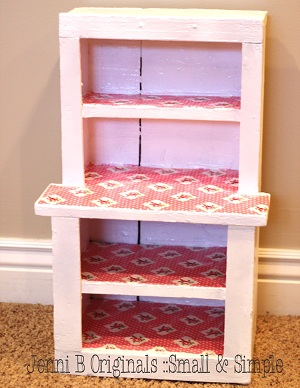
2. Once the paint was completely dry, I decided to add some fabric. At one point there must have been something adhered to the wood because there was a bunch of bumpy old adhesive. There is no way that was coming off and it didn’t look very good even when painted over. So what do we do? Just cover it up!
Take one of your pieces of fabric and lay it on one of the shelves. (I just took a pencil and marked where the fabric needed to be cut.) After trimming the fabric to size, set it aside. Take your decoupage and a sponge brush (I used matte finish Modge Podge) and spread a layer on the surface of where you’ll be adding the fabric. Gently place the fabric on top of the decoupage and smooth out any wrinkles. No need to let it dry before painting on another layer of decoupage. Make sure you get around the edges of the fabric so they don’t lift once the decoupage is dry. Repeat this on all the shelves.
3. Once the decoupage is dry, move on to the next step. If you’re tricky, you don’t even need to let it dry!
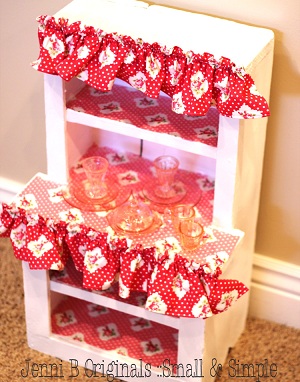
I just added a couple of ruffles to the front of the cupboard. My ruffles were left over from another project, but you can find plenty of other tutorials online if you need to learn how to make a ruffle.
Measure out your ruffle and then attach it to the front of the cupboard with hot glue.
That’s it!
| Copyright © 2024 by Jenni Bowman | Printed from NauvooTimes.com |